Результаты поиска
Все результаты
Вступить
Войти
Регистрация
Поиск
Theme Switcher
Дневной режим
Поиск
Знакомьтесь и заводите новых друзей
Новости
ИССЛЕДОВАТЬ
Страницы
Группы
Мероприятия
Reels
Статьи пользователей
Funding
Offers
Jobs
Форумы
Кинозал
Поиск
Записей
Статьи пользователей
Пользователи
Страницы
Группы
Мероприятия
elarajune
добавлены фото
2026-03-04 12:12:02
-
Espeon by Yumi
Espeon by Yumi
3
0 Комментарии
0 Поделились
136Кб Просмотры
0 предпросмотр
elarajune
добавлены фото
2026-03-04 10:29:02
-
Princess Bubblegum by Yumi
Princess Bubblegum by Yumi
3
0 Комментарии
0 Поделились
136Кб Просмотры
0 предпросмотр
elarajune
добавлены фото
2026-03-04 07:53:02
-
Liz kyun by Yumi
Liz kyun by Yumi
3
0 Комментарии
0 Поделились
136Кб Просмотры
0 предпросмотр
elarajune
добавлены фото
2026-03-04 06:08:02
-
Sakura by Yumi
Sakura by Yumi
3
0 Комментарии
0 Поделились
136Кб Просмотры
0 предпросмотр
mysterious_mud2298
добавлены фото
2026-03-02 11:13:04
-
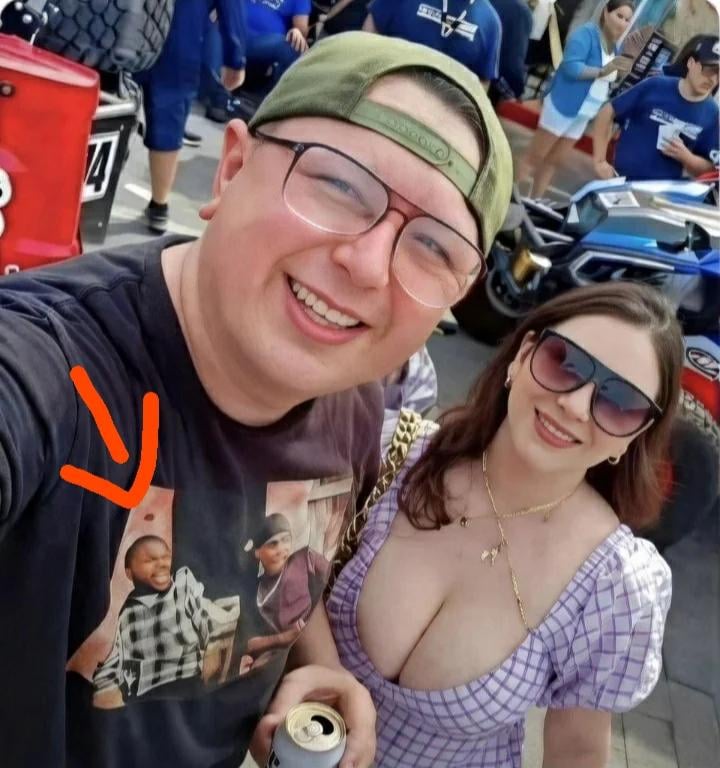
Dayummmmm
Dayummmmm
3
0 Комментарии
0 Поделились
135Кб Просмотры
0 предпросмотр
Расширенные страницы