Search Results
See All Results
Join
Sign In
Sign Up
Search
Theme Switcher
Day Mode
Search
Discover new people, create new connections and make new friends
News Feed
EXPLORE
Pages
Groups
Events
Reels
Blogs
Funding
Offers
Jobs
Forums
Movies
Search
Posts
Blogs
Users
Pages
Groups
Events
unclefuzzy75
added a photo
2026-03-24 18:40:03
-
My sweet wife is cancer free !!!
My sweet wife is cancer free !!!
3
0 Comments
0 Shares
145K Views
0 Reviews
order_flaky
added a photo
2026-03-23 23:22:02
-
Short but sweet
Short but sweet
3
0 Comments
0 Shares
144K Views
0 Reviews
evaenna
added a photo
2026-03-14 21:49:02
-
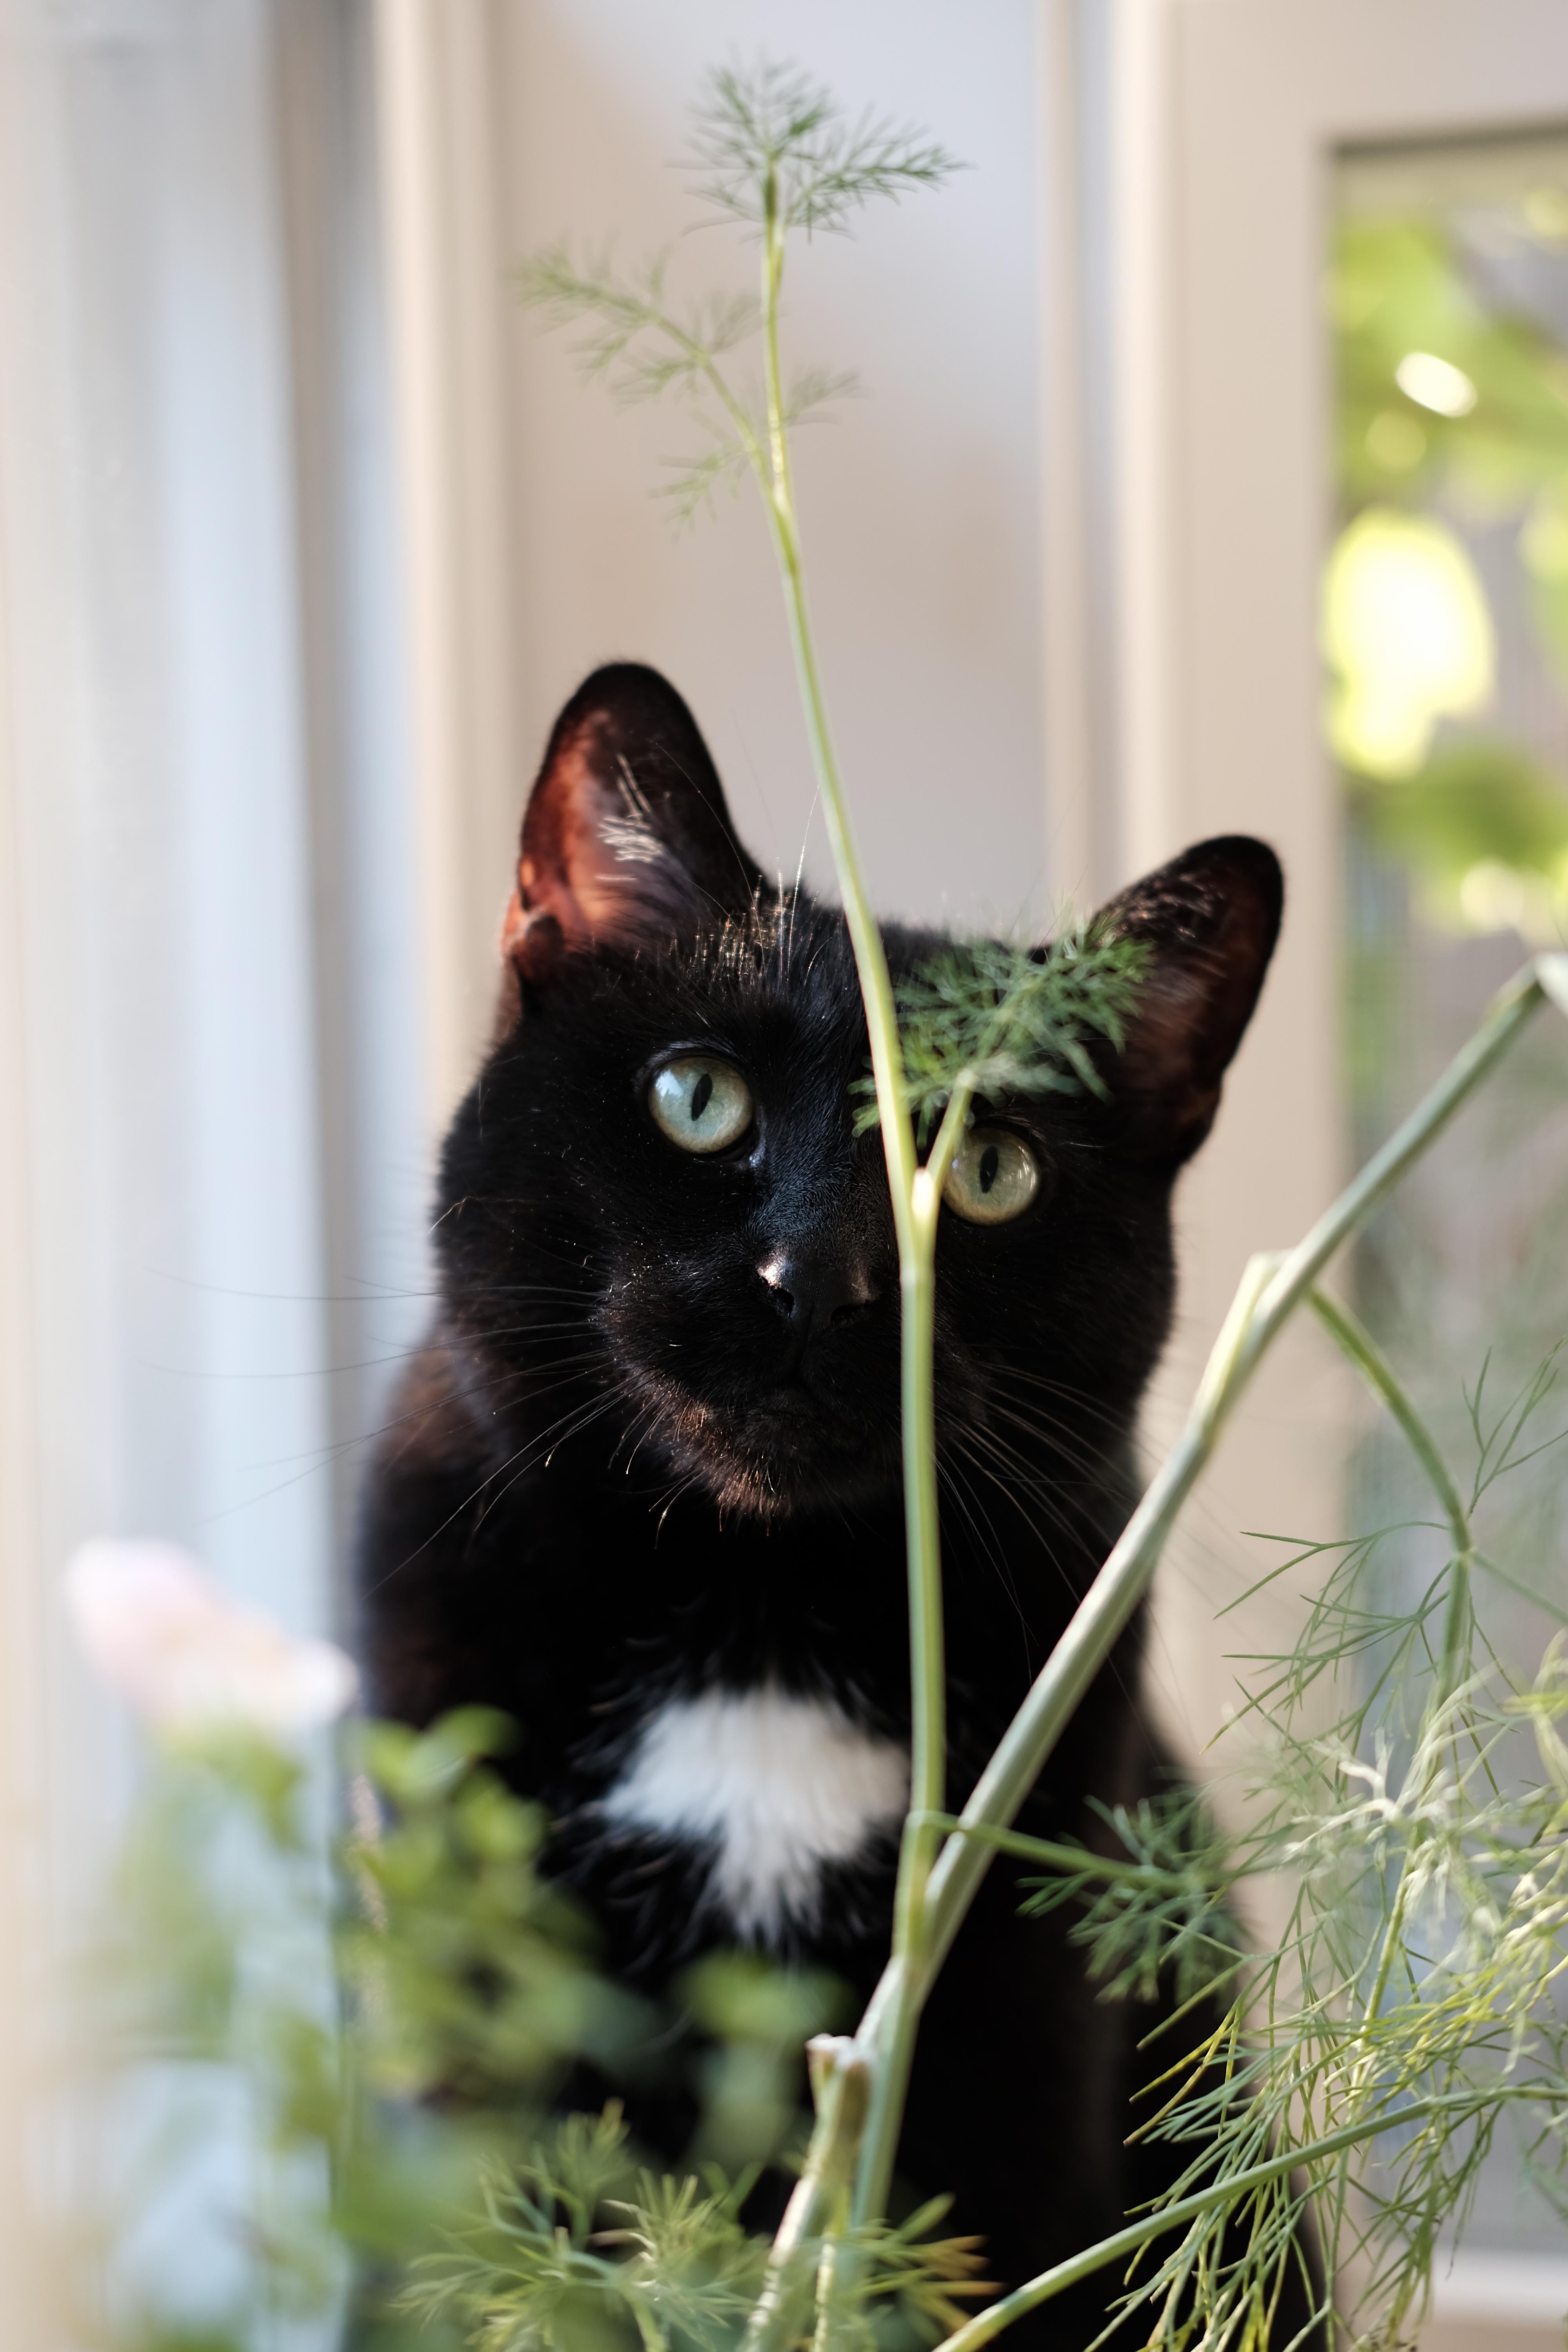
Our sweet (and sometimes spicy) kitty cat void enjoying the sunshine
Our sweet (and sometimes spicy) kitty cat void enjoying the sunshine
3
0 Comments
0 Shares
151K Views
0 Reviews
sonia72quebec
added a photo
2026-03-14 15:19:02
-
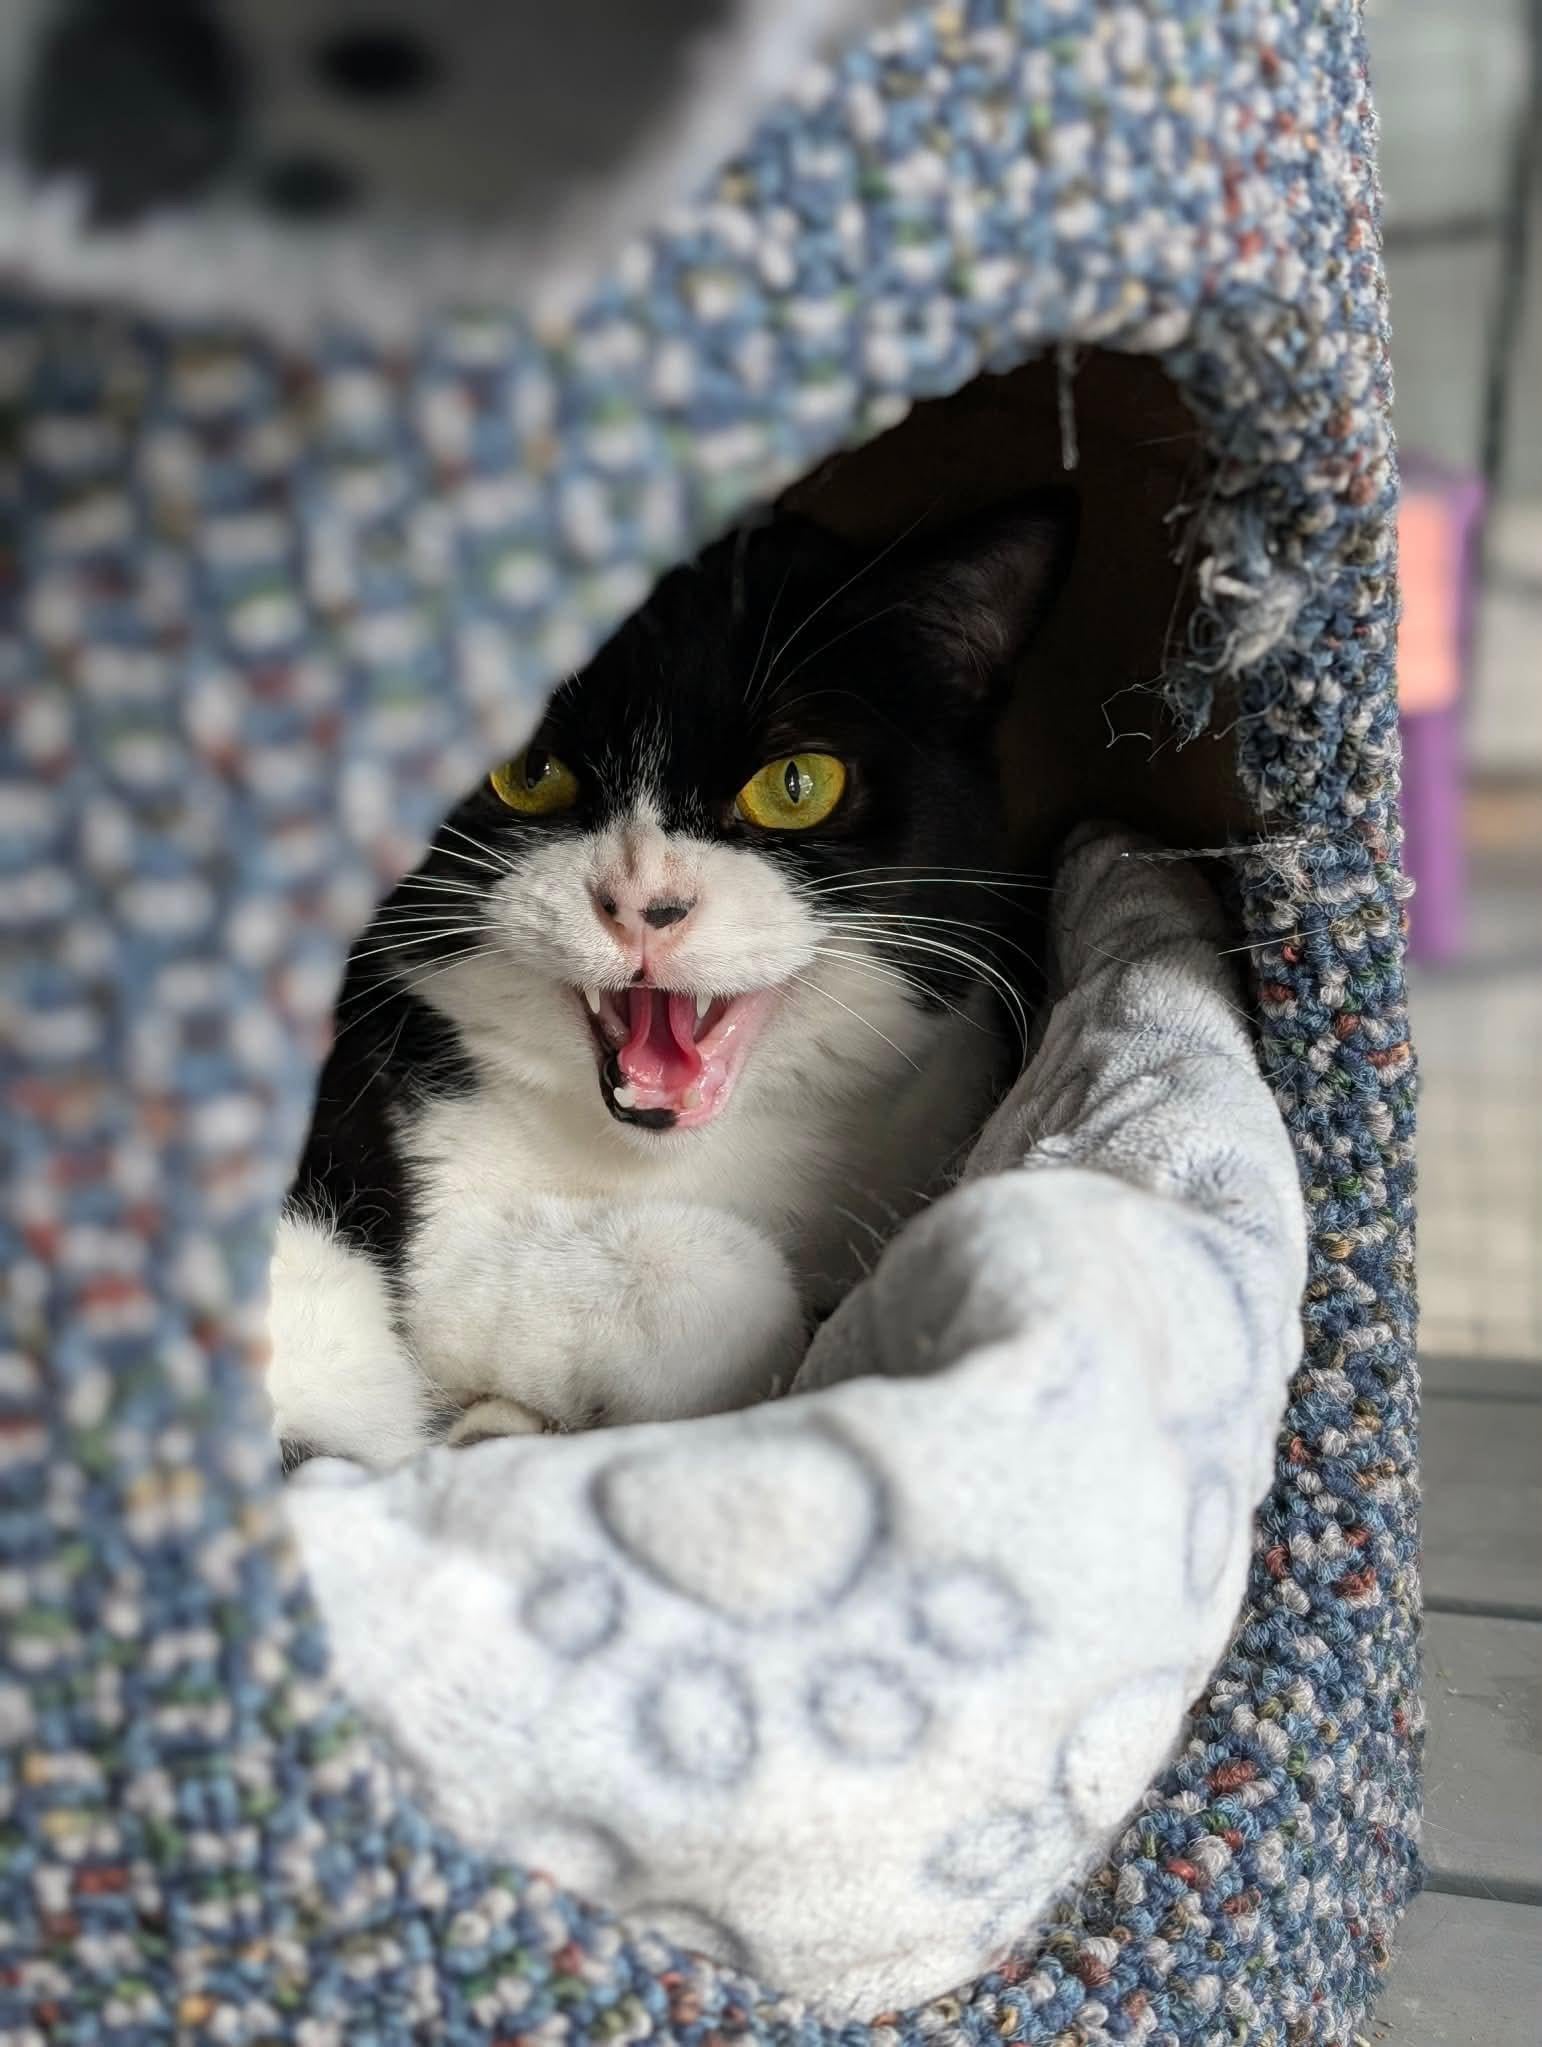
Cute Vénus from our shelter wasn’t happy we woke up at dinner time yesterday. Sorry baby. (She’s really sweet)
Cute Vénus from our shelter wasn’t happy we woke up at dinner time yesterday. Sorry baby. (She’s really sweet) ❤️
3
0 Comments
0 Shares
4K Views
0 Reviews
alicesmelody
added a photo
2026-03-14 02:19:02
-
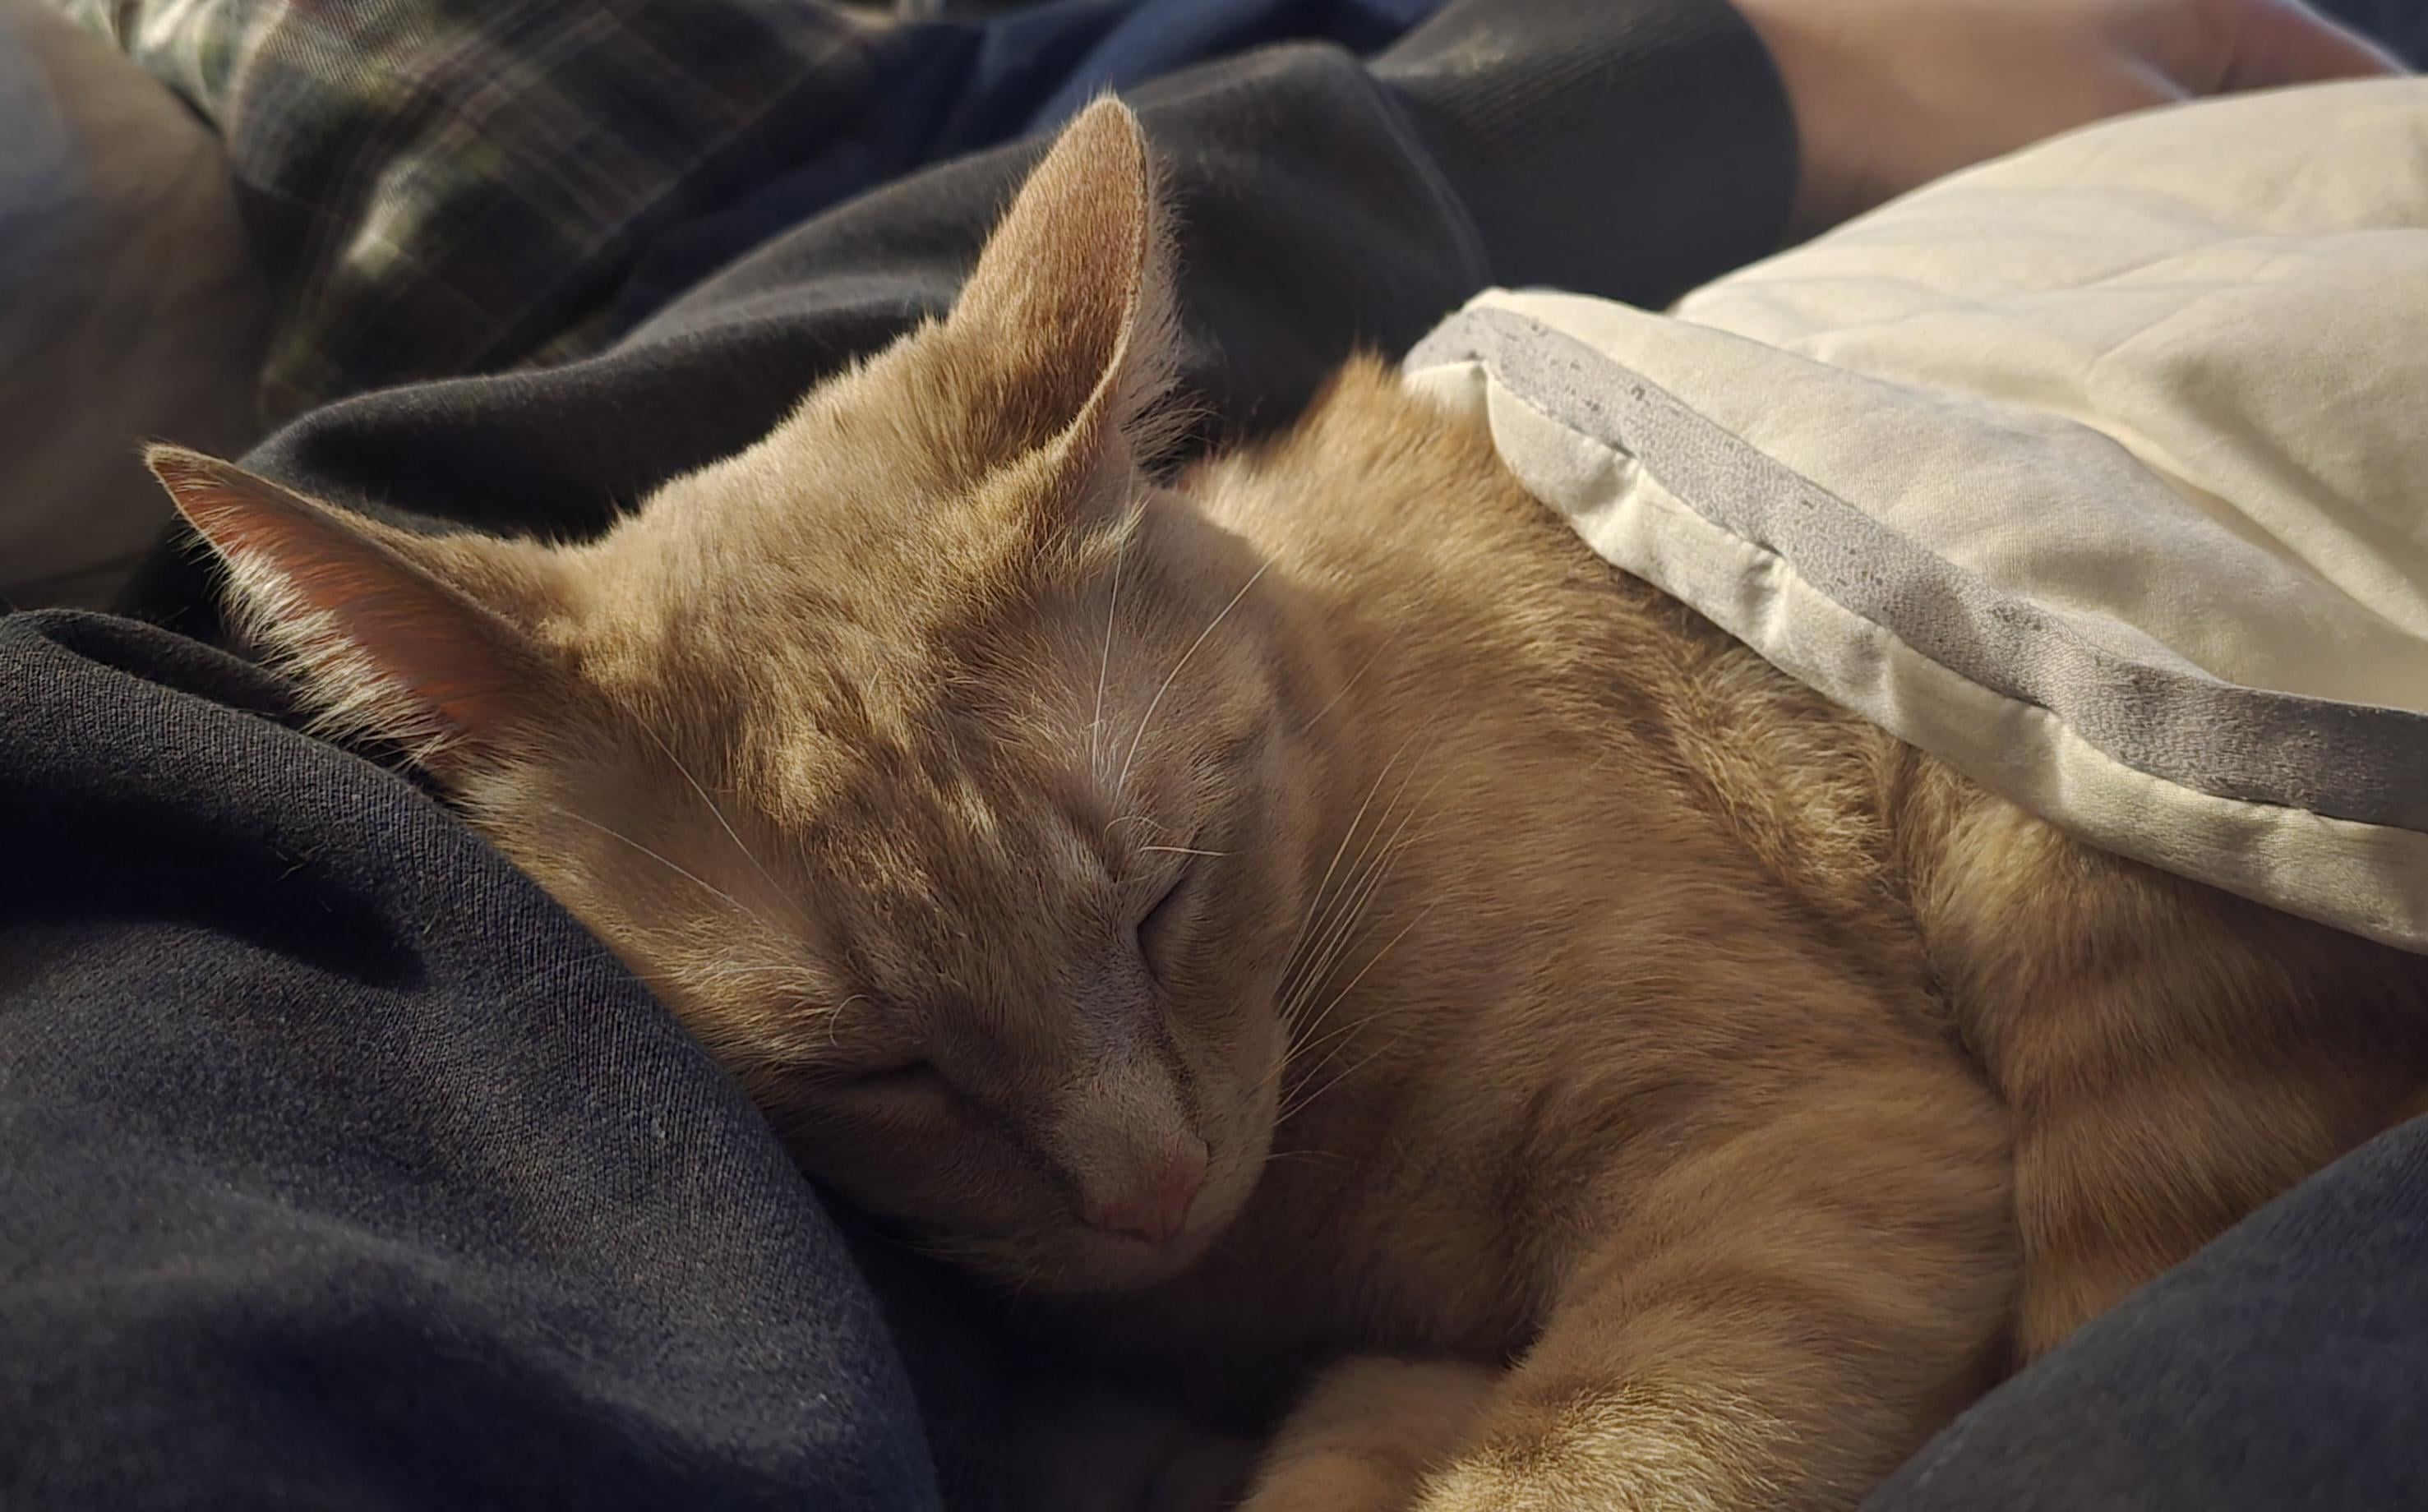
Sweet boy Ralph
Sweet boy Ralph
3
0 Comments
0 Shares
78K Views
0 Reviews
More Results