Home
Search Results
See All Results
Join
Sign In
Sign Up
Search
Day Mode
Search
Discover new people, create new connections and make new friends
News Feed
Mine
My Blogs
My Products
My Offers
My Jobs
My Courses
EXPLORE
Pages
Groups
Events
Reels
Blogs
Market
Offers
Jobs
Courses
Forums
Movies
Games
Search
Posts
Blogs
Users
Pages
Groups
Events
desiraerae Beahan
added a photo
2026-04-14 11:49:02
-
Pink Bikini
Pink Bikini
7
0 Comments
0 Shares
729 Views
0 Reviews
Vividlycalm Nienow
added a photo
2026-04-14 11:37:01
-
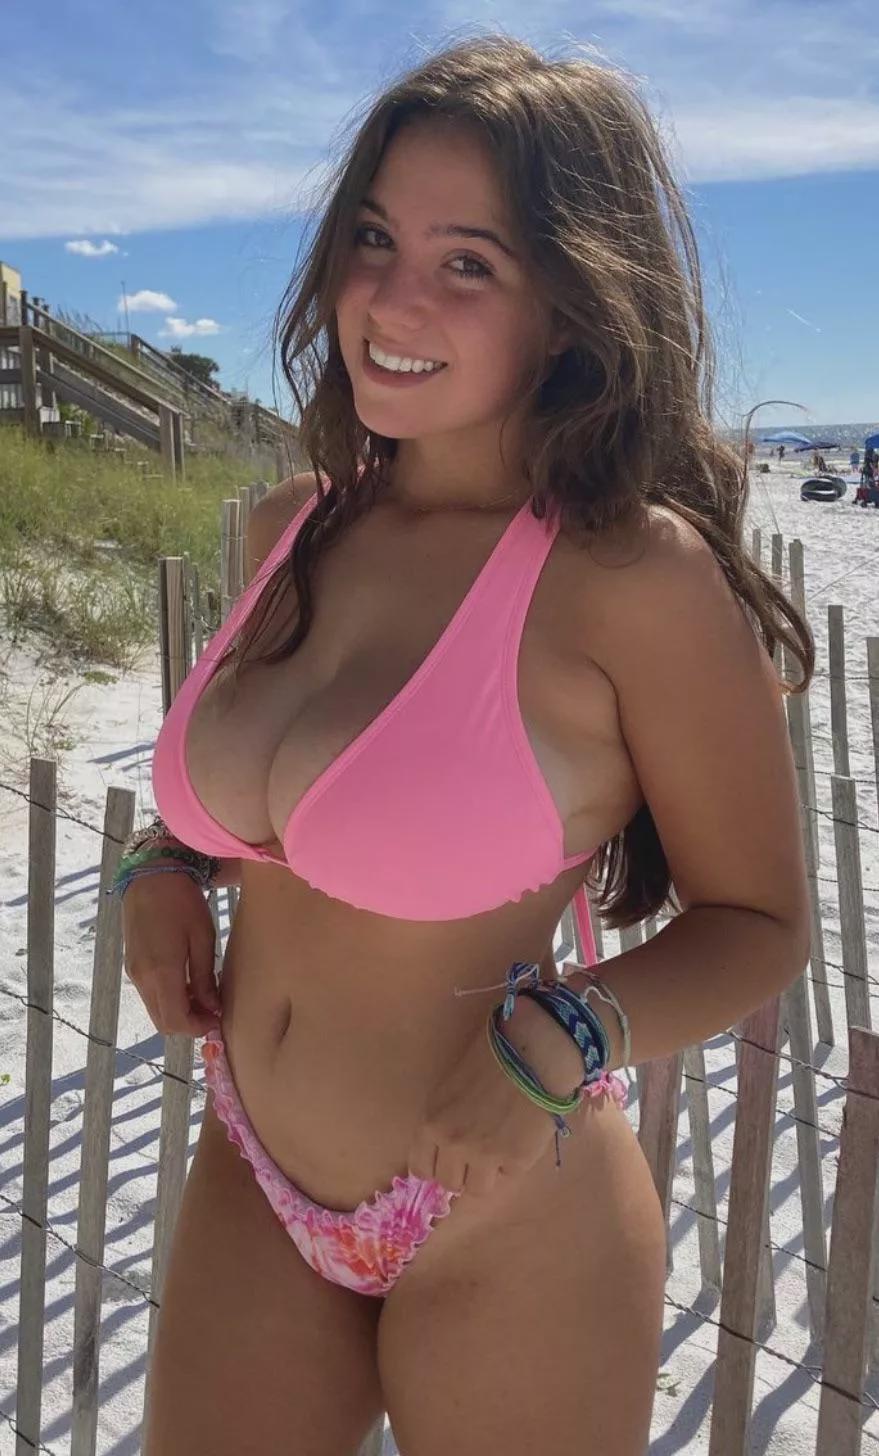
Sexy pink bikini
Sexy pink bikini
9
0 Comments
0 Shares
26K Views
0 Reviews
gariepydj Jacobson
added photos
2026-04-13 22:39:04
-
ADULT
You must be 18+ to view this content
SquashmyZucchini Hyatt
added photos
2026-04-13 17:27:02
-
ADULT
You must be 18+ to view this content
SelecusMarcator O'Hara
added a photo
2026-04-13 03:13:02
-
My Pink Mercy Cosplay - Overwatch
My Pink Mercy Cosplay - Overwatch
12
0 Comments
0 Shares
27K Views
0 Reviews
londonsuedehead Pollich
added photos
2026-04-12 19:12:03
-
ADULT
You must be 18+ to view this content
DesperateRange3061 Rohan
added photos
2026-04-12 00:04:02
-
ADULT
You must be 18+ to view this content
KOliv Spencer
added a photo
2026-04-11 21:32:01
-
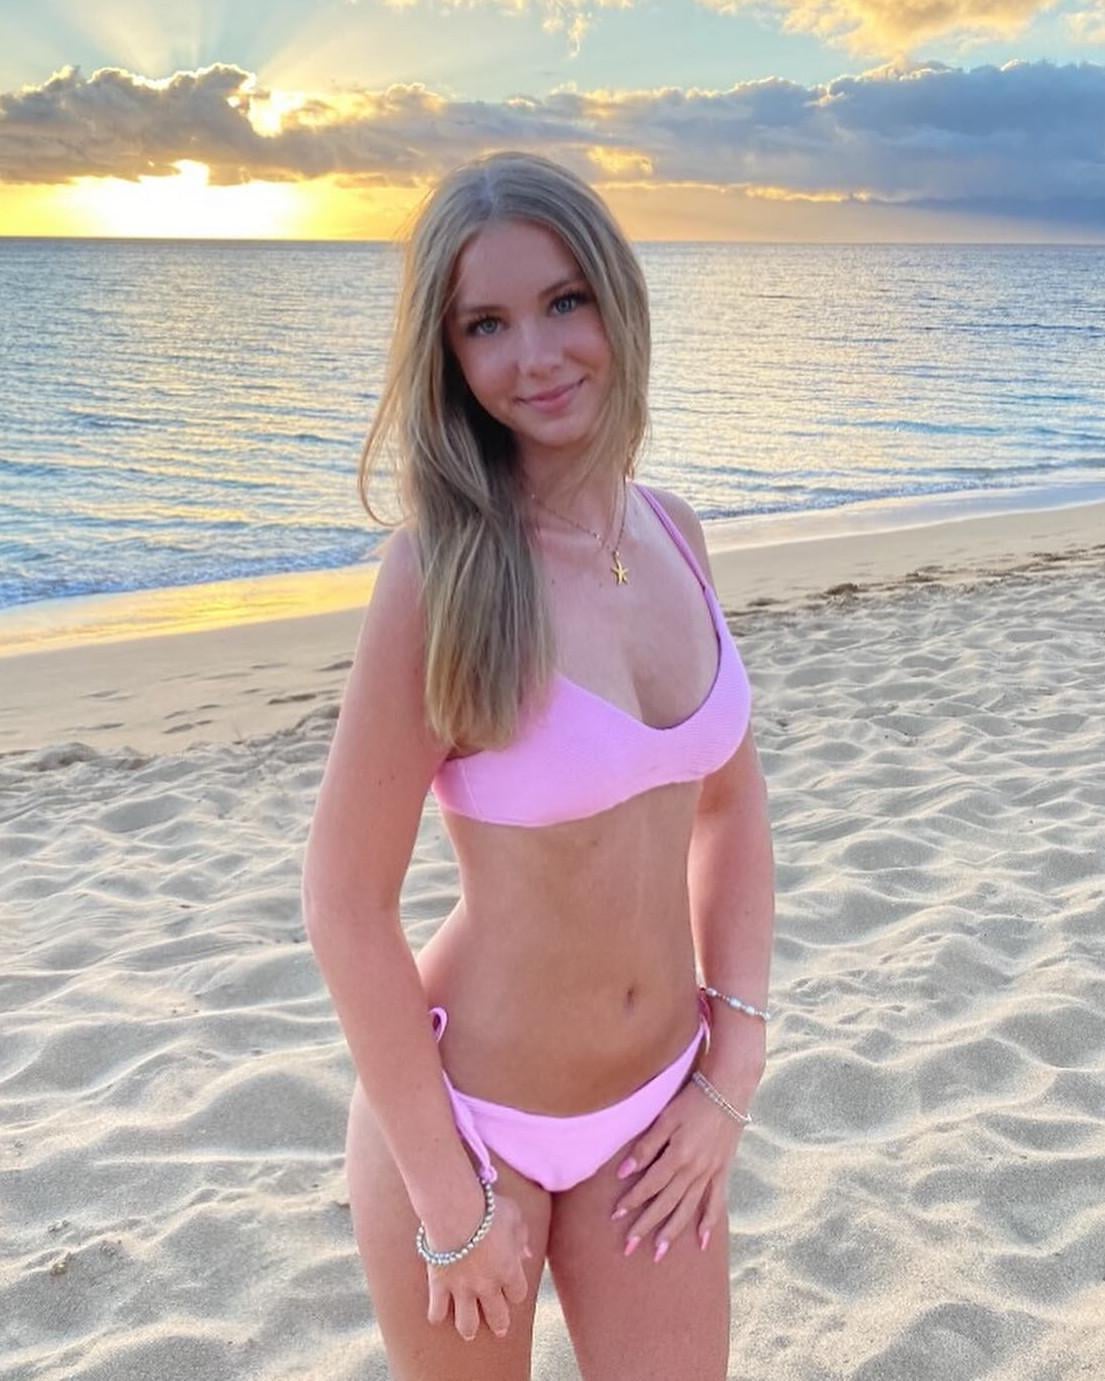
Pink bikini at sunset
Pink bikini at sunset
11
0 Comments
0 Shares
887 Views
0 Reviews
InterestingVisit79 Gleason
added photos
2026-04-11 19:57:02
-
ADULT
You must be 18+ to view this content
desiraerae Beahan
added a photo
2026-04-11 16:48:01
-
Pink Bikini with Sunglasses
Pink Bikini with Sunglasses
8
0 Comments
0 Shares
729 Views
0 Reviews
ILikeF14 Haag
added photos
2026-04-11 09:50:02
-
ADULT
You must be 18+ to view this content
Melchiazedeck McCullough
added a photo
2026-04-11 06:57:01
-
Pink Dress
Pink Dress
10
0 Comments
0 Shares
985 Views
0 Reviews
More Results