A special moment at the zoo
Utah’s Hogle Zoo in Salt Lake City welcomed a healthy male giraffe calf on January 26, 2025. The newborn weighed about 139 pounds and stood 5 feet 8 inches tall at birth. His mother, Minka, a first-time mom, delivered him naturally inside the zoo’s African Savanna barn while the animal care team carefully monitored the birth.
Giraffe calves enter the world in a dramatic way, dropping nearly six feet from their standing mother during birth. To keep the calf safe, the zoo team prepared a cushioned landing area to soften the fall. Soon after landing, the little giraffe found his footing and began walking within minutes, a strong sign of good health.
The father, a bull giraffe named Ja, was later introduced to the newborn. In a touching moment captured on camera, both parents leaned toward their calf, creating a heartwarming scene that quickly went viral online.
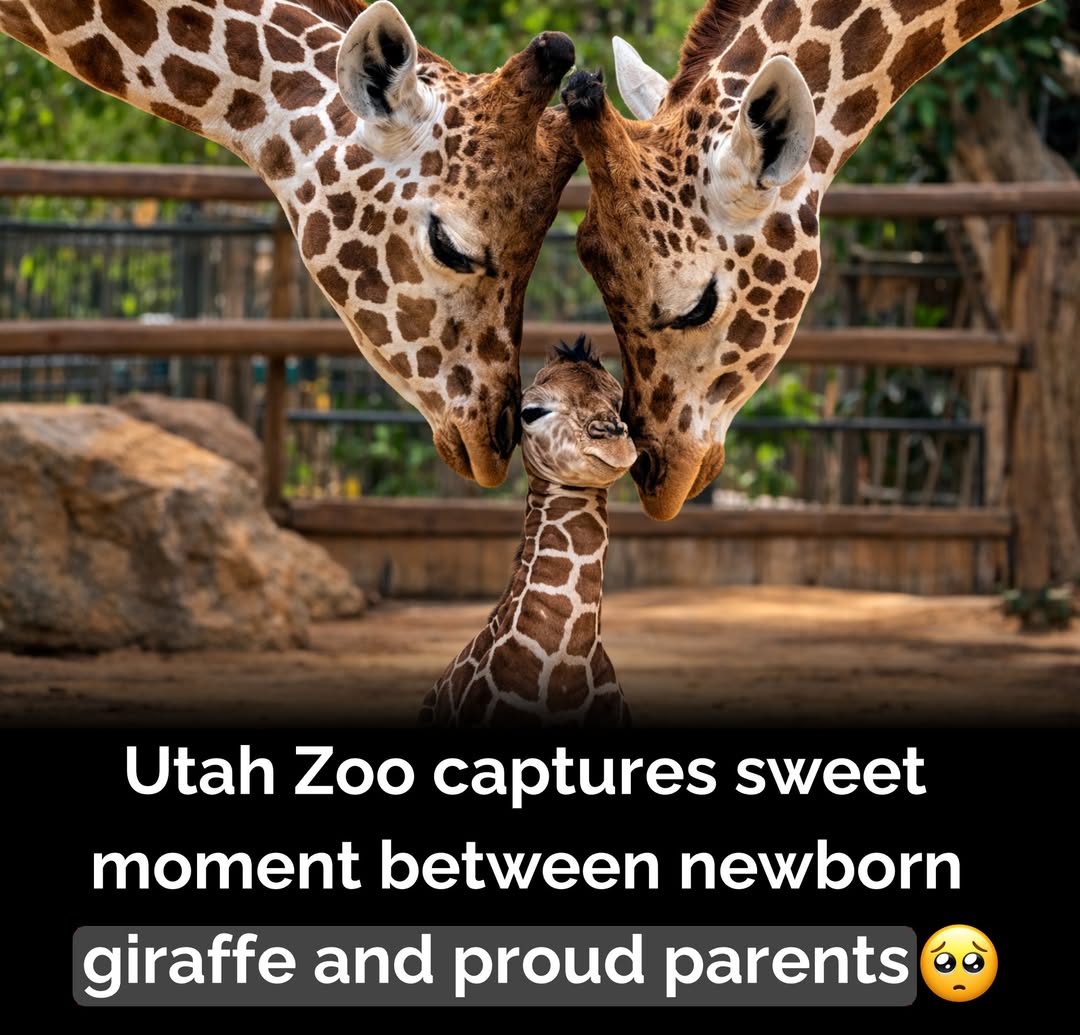